So let's get to it! If you have the project from the last blog entry handy, load it up in Cinelerra. You should have one track of the compass graphic with the rotate effect using keyframes applied. Let's make one quick adjustment to the default zoom level so that we can see the entire compass in the compositor. In the compositor, click on the Adjust Camera Automation button:
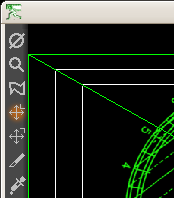
and set the Z axis to 0.4000:
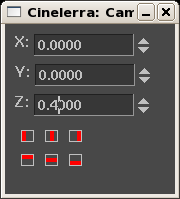
The output window of the compositor should look something like this:
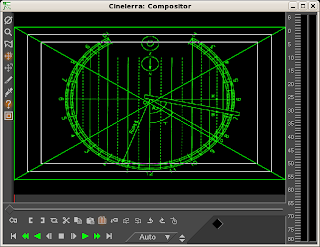
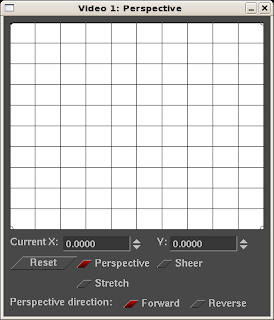
We have the basic layout ready to go. From the video effects resources, grab the perspective effect and apply it to the entire video track. We'll now set the parameters of the perspective effect. Click on the magnifying glass or right-click and select Show to view the perspective effect configuration screen. It should look something like this:
Now, the point of this exercise is to create the illusion that the compass appears to be rotating right in front of the viewers eyes. This is more difficult to explain than it is to do, so let's just make some changes to the perspective effect options and watch the results in the compositor.
Notice the little pull handles in the four corners of the X/Y graph of the perspective effect. These handles are represented as little circles. With the perspective effect options box centered directly in the middle of your display, pull the lower left handle all the way to the left border of your display. Now pull the lower right handle all the way to the right border of your display. The wider you pull these handles out, the more pronounced the effect, so if you have dual monitors or a really wide (1280 pixels or more) display, the effect will be even better. Once you're done, the graph on the perspective effect box should look something like this:
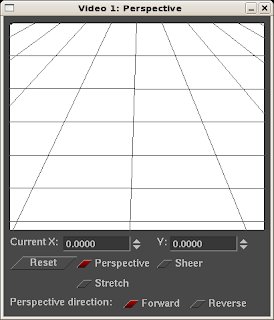
If you look at the output of the compositor window, it should look like this:
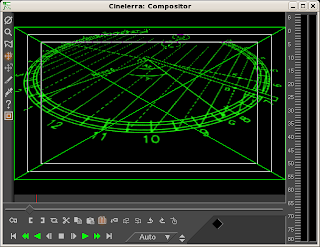
Now close the perspective effect box and playback the video. Note how the perspective effect has given a sense of three-dimesional depth to our simple, two dimensional graphic. Pretty cool, no?
For advanced users, go ahead and use automatic keyframes to zoom in and out on parts of the compass as it rotates. I'll detail that in the next entry.
until next time..good editing to you!

4 comments:
I am really excited to find your blog as I am just starting out again with Cinelerra. I have used it before, but always given up after an hour or two playing, as it isn't intuitive for me at all.
With this spinning compass, a video would be excellent, as I have no idea what you are trying to actually acheive.
Cheers, Nick.
Nick,
Thanks for noticing..that was a pretty big omission on my part! Here's what I'm talking about:
Rotating Compass
2.7MB M2V file
Thanks, thats cool. I didn't know you could do all that with cinelerra.
No problem.
And yes, the automation feature is really powerful. But you have to apply some creativity to the process, too. And unfortunately, the documentation is pretty cryptic..hence, my site.
But at least the example shows something neat that Cinelerra can do. Finally, if you wanted to make the compass look really great, you have to use very high resolution source files.
:)
Post a Comment