The plan was to get a gif or jpeg image of a compass, turn the background transparent and colorize the black lines of the compass. Later on, we'll rotate the image and fool with the perspective, like this:
Rotating compass
2.7MB
As I am not a very skilled user with Gimp, I thought I would keep my life simple and grab a black and white graphic of a compass off of the web to use as the image to rotate:
I loaded the image into Gimp. This particular image was already a transparent gif, so that saved me the step of adding an alpha (transparent) layer. I then cropped the image to the desired area by selecting the area I wanted using the Rectangle Select (Free Select). I erased the extra bits around the edges using the Erase with a Fuzzy Circle brush with a diameter of 76 pixels:

The large diameter brush was necessary due to the fact that the image was fairly large (1224x1142).
When I looked at the lines of my "compass", the lines appear fairly thin and weak:
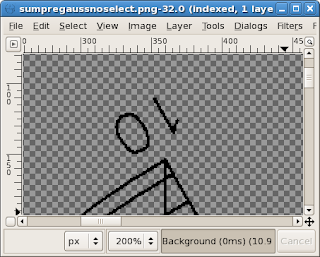
Most likely, they would not show up very well overlayed on a video. So I needed to thicken them up. In order to use most of the filters in Gimp, you need to convert the image to RGB. So, I converted the image from Indexed to RGB using Image -> Mode -> RGB. RGB mode enabled me to try out some filters.
To thicken up the lines of the compass, I first used Filters -> Edge-Detect -> Difference of Gaussians with a Radius 1 of 3 and a Radius 2 of 1 pixels. I deselected the invert checkbox. This thickened the lines nicely, but not enough to really stand out. So after playing with a number of filters, I found the perfect one: Filters -> Edge-Detect -> Neon. I left the Radius at 5 and cranked up the Amount to 1.00 to really fatten up those weak, thin lines:
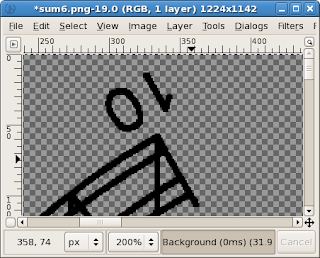
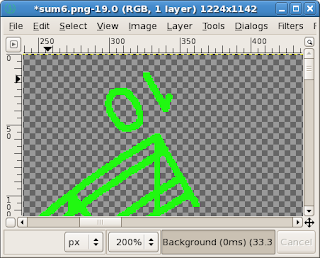
I needed to select a very bright color that would stand out overlayed on a video. To do this, I needed to select all the areas of the same color and drag my chosen color on top of the selected region. First, I chose Select Regions by Color and clicked on part of the compass. This selected all regions of the same color in the graphic. I then chose a suitably bright color for the new color of the compass (#21f811) and dragged that color from the color selection box on top of the selected region:
Finally, as the Neon effect had made the lines a bit jaggy, I deselected my regions of color (Select -> None) then applied a Gaussian Blur of 1 horizontal and 1 vertical pixel using IIR blur method. This rounded those sharp edges, but tended to mute the colors a bit:
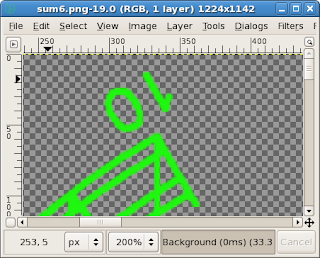
I will try to improve the brightness of the selection by using a Neon gradient. That will be a future entry.
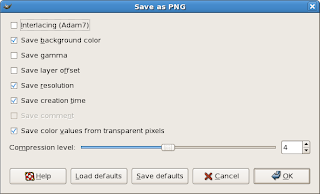
I saved the final image as a PNG:
that Cinelerra could import:
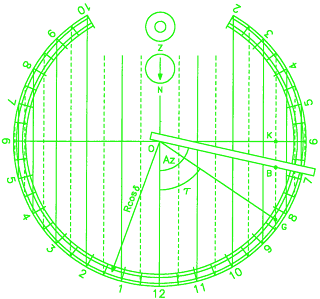
Next: automatic keyframing using the rotate effect!

No comments:
Post a Comment