Showing posts with label gimp. Show all posts

Sunday, April 05, 2009

animated route in Cinelerra

This was fun. I spent the day perfecting a way to automate a line on a map in Cinelerra. You might think that was a somewhat pedantic exercise, but I think the image I used was very pretty and that the moving line, ala Raiders of the Lost Ark, came out great. What would make it even better would be to use an ancient map of some sort.

Here it is:

a line on a map from crazed mule on Vimeo.

Update 2009/04/07
For some reason, this video is not playing as embedded on this page. Please visit my crazed mule profile on Vimeo to view.

Thanks!
*** end update ***

Using Gimp to Spice Things Up
I created the graphics in Gimp:
-the line representing the route and its shadow
-the circle representing the route's start
-the star representing the route's end

The circle and the star were created using Gfig, the Gimp add-on utility that let's you create geometric shapes. Also note that the shadow of the line matches the position of the light source in the photo of the globe.

Note that the circle and the star are not flat, 2D creations, but they look like stickers pasted on the side of the globe. I acheived that effect by using Gimp's Perspective and Shear tools. Here's a resource that discusses Perspective in Gimp:
http://gimp-university.blogspot.com/2008/03/perspective-and-layers.html

I created four images to import in Cinelerra:
1) globe with no Gimp object overlays
2) globe with just the circle as start of route
3) globe with the circle and the line
4) globe with the circle, line and star representing the full trip

Assembling the Images in Cinelerra
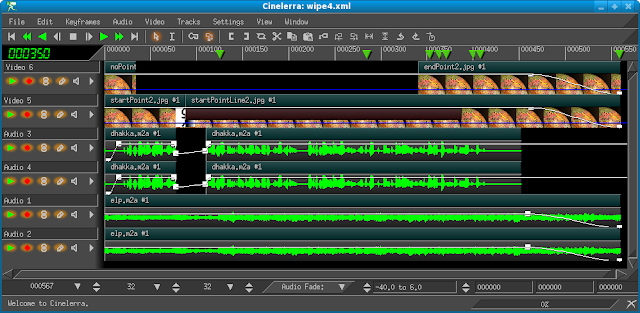
The tracks in Cinelerra looked like this:
Top Video Track
image 1 (plain globe) at beginning of timeline and image 4 (all objects) at end of timeline
Bottom Video Track
image 2 (globe and circle) and image 3 (globe, circle and line)

Gradient Created for Line's Movement
The key to the movement of the route was a screen wipe that travelled from the upper left corner of the screen to the lower right, mimicking the direction of the line's travel. Since Cinelerra does not have a built in wipe that moves in this direction, I had to create my own gradient using Gimp and plop it in /usr/local/lib/cinelerra/shapewipe. I then used that gradient in the Shape Wipe video transition tool:


In the timeline picture above, you can see the Shape Wipe transition effect that I used between the image of the map with the circle and the image of the map with the circle and the line.

Here are some resources on wipes and making your own wipe in Cinelerra:
http://cvs.cinelerra.org/transitions.php
http://www.mail-archive.com/cinelerra@skolelinux.no/msg05664.html
http://akiradproject.net/your_own_transition
http://cvs.cinelerra.org/images/

I love the way this turned out, because it looks a s*1tload better than most of the other animated routes I've seen out there. In fact, it blows away the lame route create with Photoshop and After Effects that I read about in VideoMaker magazine this month.
http://www.videomaker.com/article/14206/

enjoy,
the mule

Friday, April 06, 2007

transparent png as a rotating image for video

So I just watched Casino Royale for the third time and I really dug the GUIs they showed at various times during the film. One of the coolest was a graphic of a compass/altimeter as it focuses in on the compound of a bad guy in the Bahamas. I thought that adding something similar to my videos would be damn cool and should be fairly easy to do with transparent gif and the rotate effect in Cinelerra. I didn't know it, but I was about to get a lesson in automatic keyframing of effects, which I've never done before. But first, I will focus this blog entry on the transparent gif creation.

The plan was to get a gif or jpeg image of a compass, turn the background transparent and colorize the black lines of the compass. Later on, we'll rotate the image and fool with the perspective, like this:
Rotating compass
2.7MB

As I am not a very skilled user with Gimp, I thought I would keep my life simple and grab a black and white graphic of a compass off of the web to use as the image to rotate:


I loaded the image into Gimp. This particular image was already a transparent gif, so that saved me the step of adding an alpha (transparent) layer. I then cropped the image to the desired area by selecting the area I wanted using the Rectangle Select (Free Select). I erased the extra bits around the edges using the Erase with a Fuzzy Circle brush with a diameter of 76 pixels:


The large diameter brush was necessary due to the fact that the image was fairly large (1224x1142).

When I looked at the lines of my "compass", the lines appear fairly thin and weak:


Most likely, they would not show up very well overlayed on a video. So I needed to thicken them up. In order to use most of the filters in Gimp, you need to convert the image to RGB. So, I converted the image from Indexed to RGB using Image -> Mode -> RGB. RGB mode enabled me to try out some filters.

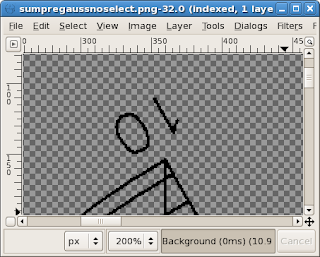
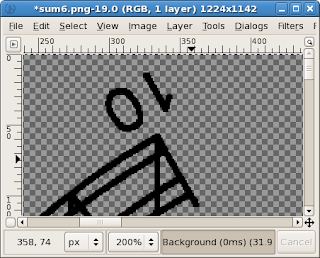
To thicken up the lines of the compass, I first used Filters -> Edge-Detect -> Difference of Gaussians with a Radius 1 of 3 and a Radius 2 of 1 pixels. I deselected the invert checkbox. This thickened the lines nicely, but not enough to really stand out. So after playing with a number of filters, I found the perfect one: Filters -> Edge-Detect -> Neon. I left the Radius at 5 and cranked up the Amount to 1.00 to really fatten up those weak, thin lines:

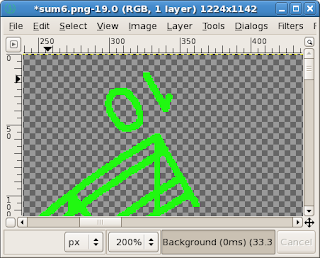
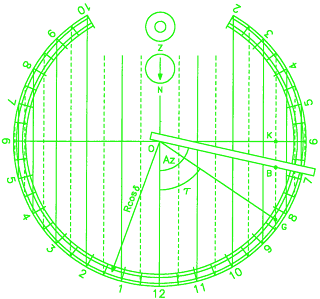
I needed to select a very bright color that would stand out overlayed on a video. To do this, I needed to select all the areas of the same color and drag my chosen color on top of the selected region. First, I chose Select Regions by Color and clicked on part of the compass. This selected all regions of the same color in the graphic. I then chose a suitably bright color for the new color of the compass (#21f811) and dragged that color from the color selection box on top of the selected region:


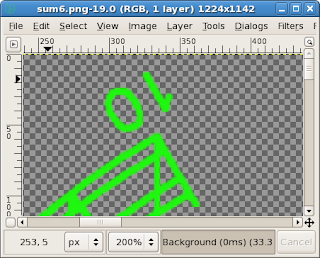
Finally, as the Neon effect had made the lines a bit jaggy, I deselected my regions of color (Select -> None) then applied a Gaussian Blur of 1 horizontal and 1 vertical pixel using IIR blur method. This rounded those sharp edges, but tended to mute the colors a bit:


I will try to improve the brightness of the selection by using a Neon gradient. That will be a future entry.

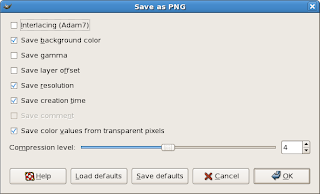
I saved the final image as a PNG:


that Cinelerra could import:


Next: automatic keyframing using the rotate effect!